Fuse Beads · 3 min read
Choosing a Perler Bead Grid Size for Clear, Buildable Patterns
Balance recognizable detail, board dimensions, time, and total bead count. This perler bead grid guide focuses on decisions you can verify while you work, so the final chart is not only attractive on screen but practical to make.
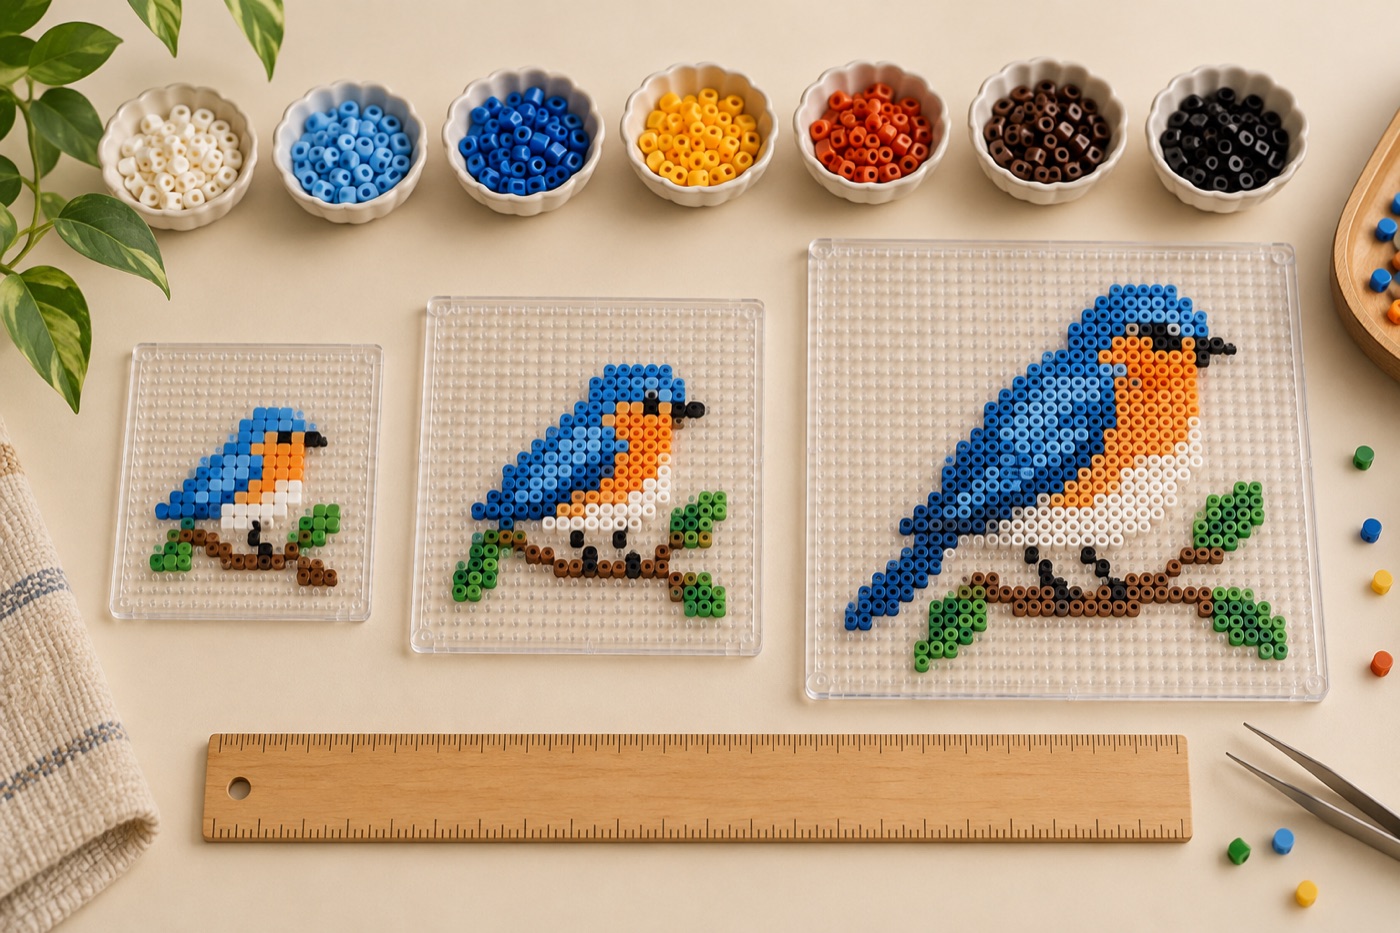
Measure the board you actually have
Start with the peg count of your own board rather than an assumed standard size. Count the usable pegs across and down, including whether any connecting edges overlap or leave a gap. Draw the board outline over the design before choosing a final crop. A design that looks good at 30 cells wide may need a second board if your board has fewer usable pegs. If you plan to tile boards, mark every join on the printed chart and test the connection before placing hundreds of beads.
Choose detail by silhouette
Make three quick versions at different widths and view them at the distance from which the finished bead art will be seen. First preserve the outside silhouette, then eyes, lettering, or any other identifying feature. If a one-bead line breaks apart in the smallest version, enlarge the grid or simplify that line deliberately; adding similar shades will not restore missing geometry. Compare the number of occupied cells as well as the full width, because a larger blank border increases board size without increasing bead demand.
Budget boards and beads separately
Grid width times height gives the maximum number of cells, not the number of beads you need. Count only occupied cells for the color shopping list. Plan the board layout from total dimensions: a chart crossing a board boundary needs a clear row and column reference even if most of the adjacent board is empty. For a large piece, sketch how each board will be supported and moved. Test a corner section first so you discover awkward joins before filling the design.
Check physical scale before ironing
If exact dimensions matter, measure the center-to-center spacing of two pegs on your actual board and multiply by the number of intervals, then allow for the outside bead edges. Bead diameter alone is not a reliable finished-size measurement. Follow the maker's fusing instructions and practice on spare beads before fusing a large design. Perler advises a flat, heat-safe surface, ironing paper and even circular motion; an adult should handle the iron. See Perler's standard method.
Print a board-aware chart
Include row and column numbers, not just a full-color image. Print one section per board when the full chart becomes too small to read. Label each sheet with its position, for example top-left or row 2 column 3, and use the same orientation for every board. Check a one-board test print against the real pegboard before starting. This prevents a correct design from becoming a confusing pile of nearly identical pages.
Continue with BeadArtify
Open the free pattern maker to test your image, continue in the full pattern designer, or browse the original community gallery for color and scale ideas. Your source image is processed locally in the browser.