Fuse Beads · 3 min read
Fuse Bead Pattern Maker: A Beginner’s Start-to-Finish Method
Move from image selection to a stable finished piece without guessing your materials. This fuse bead pattern maker guide focuses on decisions you can verify while you work, so the final chart is not only attractive on screen but practical to make.
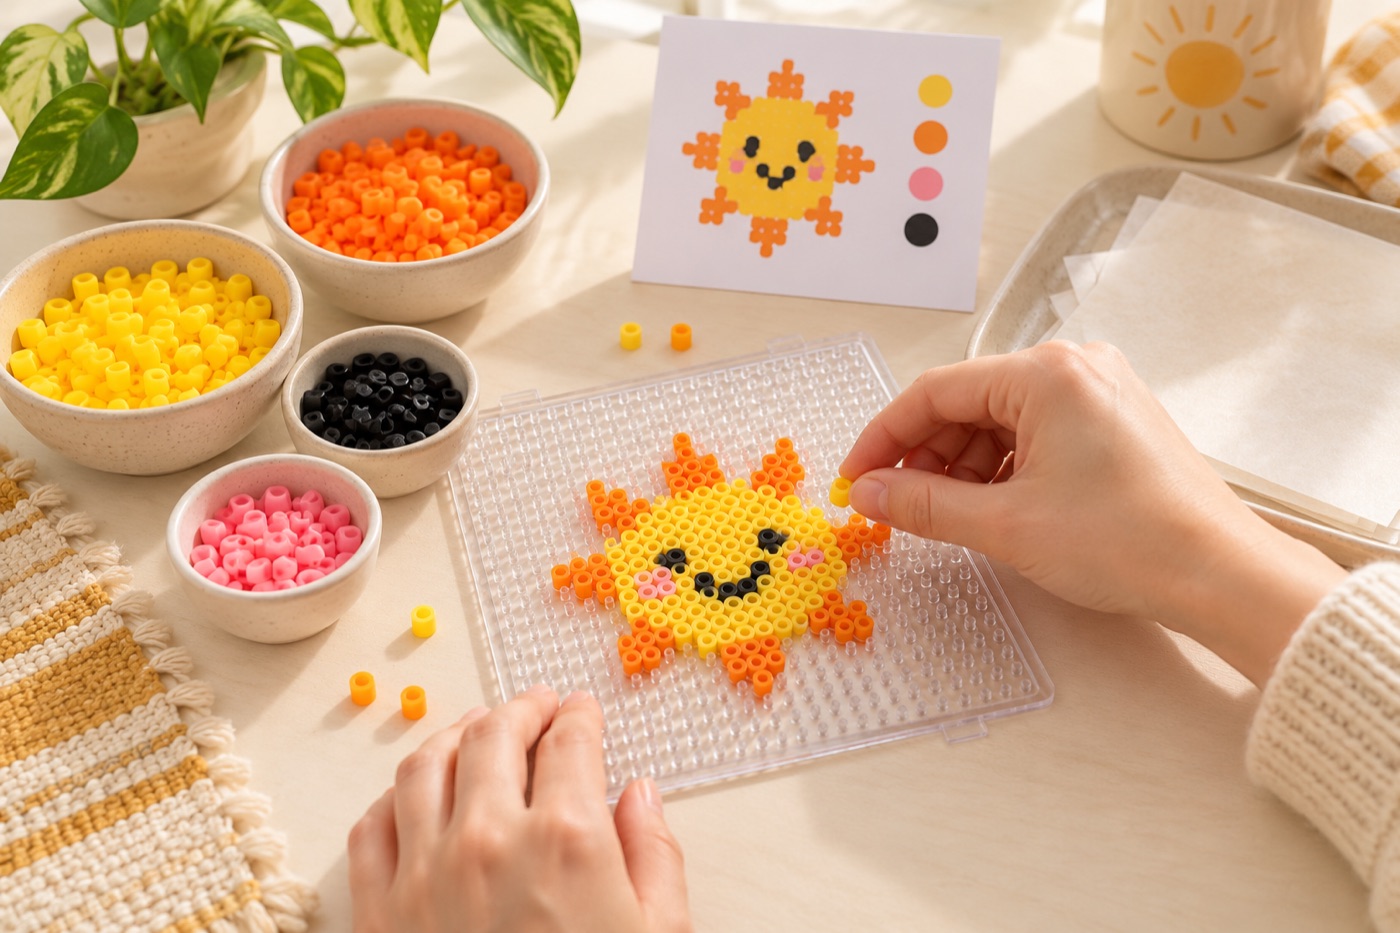
Pick a forgiving first shape
Begin with a compact object that has a thick outline and a small number of colors: a fruit, flower, or simple badge is easier to place than a shaded portrait. Confirm it fits the pegboard you own and that the holes align with the digital chart. A single unsupported row of beads at the edge may snap or separate when lifted. Add a connecting bead where it improves strength without changing the subject. Count filled cells, not every square in the rectangular grid, when estimating how many beads you need.
Prepare the board before placing beads
Work on a flat, stable surface with the chart and color legend visible. Sort a small amount of each color into separate containers. Place the outer silhouette and a few unmistakable landmarks first; then fill the larger regions row by row. Pause after each block to compare the board with the chart. If a bead rolls into a neighboring peg, correct it while the mistake is local. A photo of the completed but unfused board is a useful reference if anything shifts during handling.
Make the heat step deliberate
Follow the instructions for the particular beads and pegboard you bought. Perler’s standard method, for example, calls for an adult to use ironing paper over the beads, a dry iron on a medium setting, and gentle circular motion on a flat heat-safe surface. The iron must not touch bare beads or the pegboard. Let the piece cool before lifting it, then decide whether the back also needs fusing. Heat and pressure vary by iron and color, so inspect the joins rather than assuming that one fixed time works for every project.
Learn from the finished object
Once cool, compare the object with the chart at normal viewing distance. Notice which one-cell details vanished and which outlines stayed clear. If the edge is weak, revise the digital pattern before making a larger version; more heat cannot always repair a structurally thin design. Keep the chart, final bead counts, and a photo of the fused piece together. This small record makes the next project easier: you will know which grid size, bead colors, and finishing choices actually worked with your own tools.
Keep the first experiment small
A first project is a chance to learn your pegboard spacing and heat behavior. Change one factor at a time: bead palette, grid size, or finishing method. If all three change in the next project, it is hard to tell why the result improved or became harder to handle. Reuse the same simple motif in two colors to compare material substitutions. That small comparison teaches more than immediately starting a huge detailed portrait.
Continue with BeadArtify
Open the free pattern maker to test your image, continue in the full pattern designer, or browse the original community gallery for color and scale ideas. Your source image is processed locally in the browser.