Bead Loom · 3 min read
Free Bead Loom Patterns: How to Read, Size, and Personalize a Chart
Understand warp counts, row direction, edge control, and color substitutions before you begin. This free bead loom patterns guide focuses on decisions you can verify while you work, so the final chart is not only attractive on screen but practical to make.
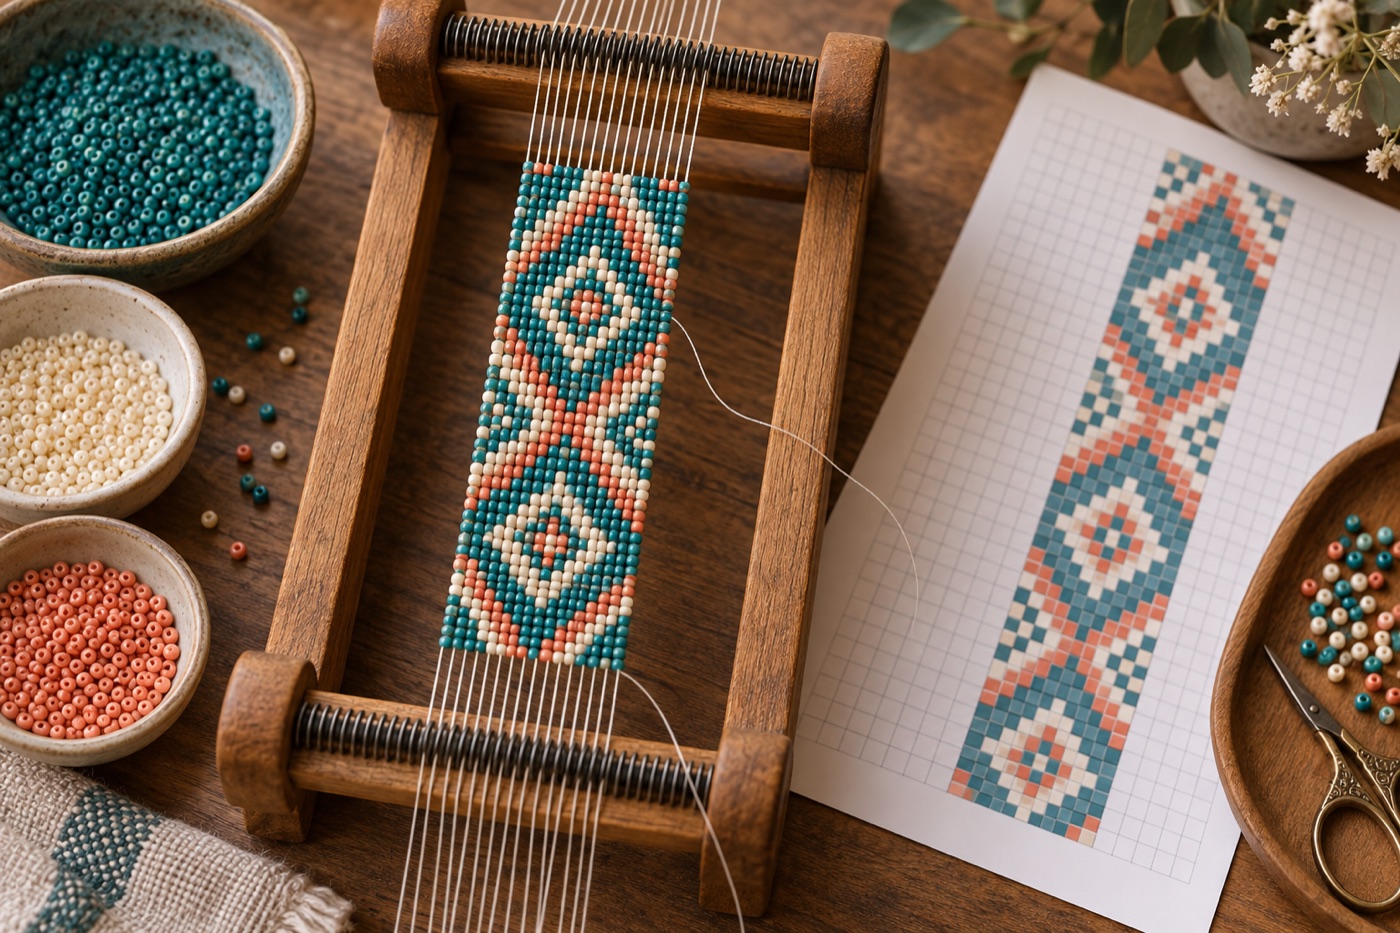
Read the width as bead spaces
A loom chart’s horizontal cells describe beads, while the warp threads create the spaces that hold them. In a simple single-bead-wide arrangement, ten beads across require eleven parallel warp threads; different loom setups can use different edge arrangements, so check your own loom instructions. Measure the desired wearable width with real beads rather than estimating from a screen. The bead shape and thread tension affect how the strip sits against skin. A narrow practice strip exposes these differences before you commit to the full chart.
Make the repeat fit the actual strip
Find the motif’s horizontal repeat in columns and test where it lands at the left and right edges. If the design is twelve columns across but the bracelet is ten, simply cropping two columns may cut off both sides of a diamond. Resize the motif, add a symmetric border, or choose another repeat. Mark the first and last row of every repeat and count those rows toward the final length. Include room for the intended closure or attachment; an attractive chart can still become an uncomfortable bracelet if its length ignores finishing.
Weave with a row-by-row check
Lay out one row of beads in the chart order before threading them. Confirm the count and where the first contrast color falls. As you weave, keep the row direction clear: turning the chart upside down can mirror letters or asymmetrical motifs. Tighten enough to align the row without pulling the strip inward at its edges. Every few rows, compare the left and right borders and check that no bead has crossed into a neighboring warp space. Photograph an error before undoing rows, so the correction is easy to verify.
Finish before declaring the chart reusable
A free chart is a starting point, not a complete recipe for every loom and clasp. The ends may need extra plain rows, a tapered finish, or space for a connector. Test the finishing method on a small sample, and decide whether edge colors should continue into it. Note the bead size, thread, loom width, and any row modifications in your saved copy. These notes make the customized pattern repeatable and prevent a second maker from assuming that a digital width alone guarantees the same finished fit.
A quick loom-readability test
Print or display five consecutive rows and lay their bead colors in sequence without starting the full bracelet. You should be able to see where the motif begins, which edge is the left edge, and when the repeat starts again. If two bead colors cannot be distinguished in the chart, add clearer symbols or a written row key. It is much cheaper to correct chart orientation at this stage than after the first several centimeters are woven.
Continue with BeadArtify
Open the free pattern maker to test your image, continue in the full pattern designer, or browse the original community gallery for color and scale ideas. Your source image is processed locally in the browser.