Kandi · 3 min read
Kandi Bracelet Patterns That Fit: Sizing, Rows, and Color Planning
Plan comfortable cuffs with repeat math, readable motifs, and realistic bead quantities. This kandi bracelet patterns guide focuses on decisions you can verify while you work, so the final chart is not only attractive on screen but practical to make.
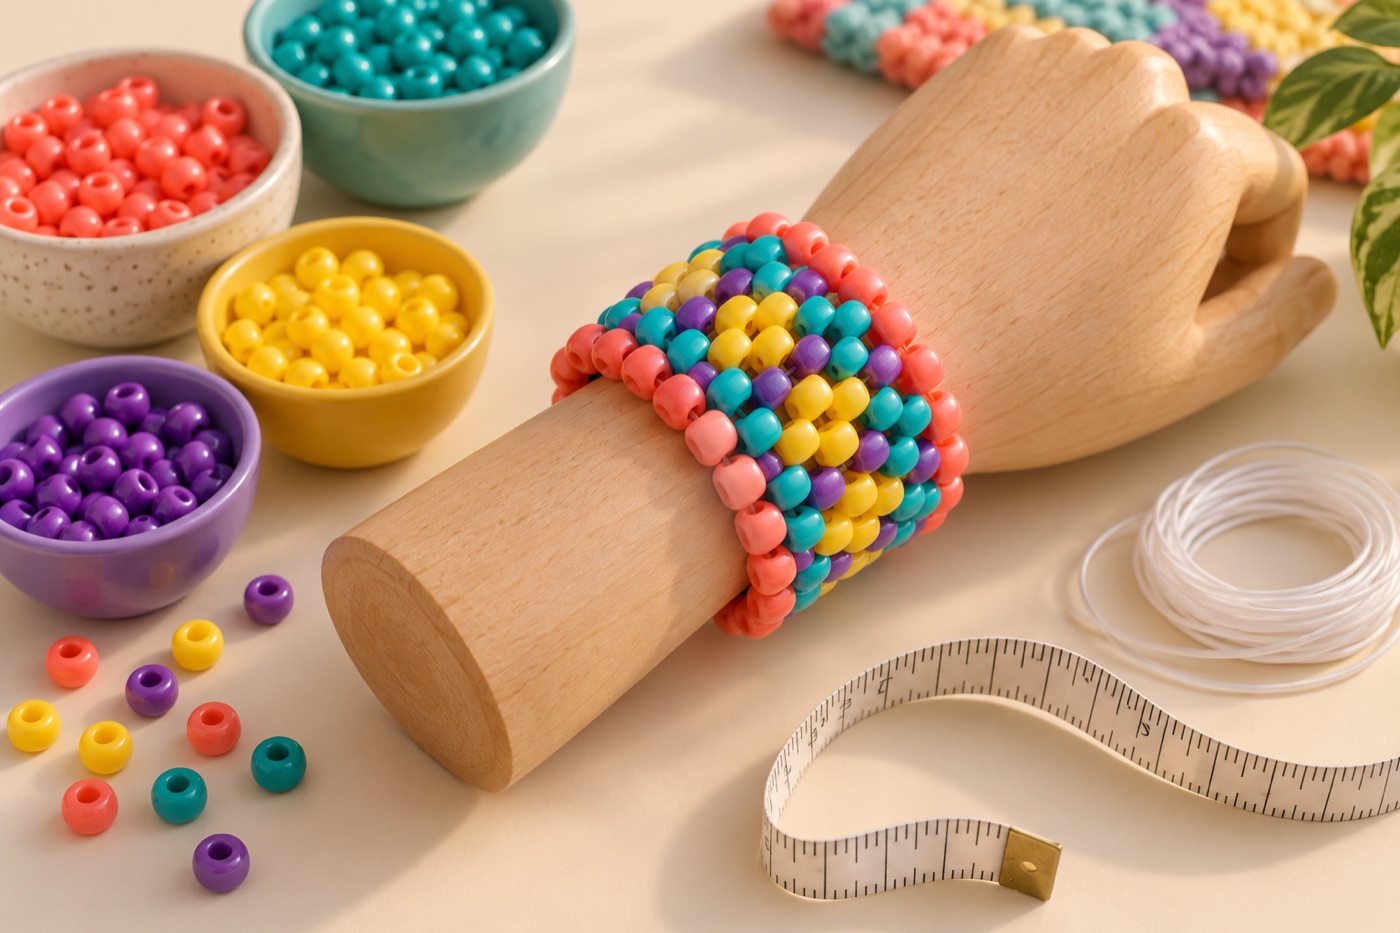
Measure where the cuff will sit
Measure the wrist or arm at the point where the cuff will be worn, then test a small circle with the same pony beads and cord. The count needed for a comfortable loop depends on bead size, cord stretch, and how tightly the rows are connected. A flat preview does not reveal this. Make a one-row test that slides on and off without excessive strain, and count its beads. Use that count as the circumference for the first digital draft; adjust it after wearing the sample briefly.
Make the motif divide into the circumference
A repeating heart, checker, or diagonal needs to close cleanly where the last column meets the first. Divide the bead count around the cuff by the motif width. If the result is not a whole number, change the border or simplify the motif instead of squeezing a partial copy into the join. For lettering, reserve blank columns between words and check the first and last letters from the outside of the cuff. A deliberately plain seam often looks better than two competing half-motifs.
Check row height and bead inventory
Each extra row adds height and weight, not just more artwork. Mock up two or three stacked rows before deciding on a wide cuff. Count beads by color after fixing the circumference and row count, then add a small allowance for sorting mistakes and damaged beads. When several shades look close under room lighting, select one dominant shade for each role. Keep spare beads of the main color available, because a shortage in a background row is harder to disguise than a minor decorative substitution.
Test the finished join
The closure is part of the design. Practice the exact joining or tie-off method on a small sample, check that the join feels smooth against skin, and then adjust the chart if the seam makes a vertical stripe wider than expected. Wear the sample for a short period to see whether it rolls, pinches, or stretches unevenly. Save the final pattern with bead count around, row count, cord choice, and seam notes. Those details are more useful than a screenshot alone when you remake it in another color.
Keep a wearable pattern record
Record the sample circumference in beads, the resulting fit, the number of rows, and whether the cord stretched after wearing. When sharing the design, call out those measured details rather than promising one size fits every wrist. Someone using a different bead or cord can repeat your sample test and adjust the circumference without redrawing the entire motif. The chart then becomes a reliable starting point rather than an attractive but ambiguous flat image.
Continue with BeadArtify
Open the free pattern maker to test your image, continue in the full pattern designer, or browse the original community gallery for color and scale ideas. Your source image is processed locally in the browser.