Kandi · 3 min read
Kandi Pattern Maker: Create a Repeat That Joins Cleanly
Check the seam, repeat width, bead orientation, and wrist fit before stringing. This kandi pattern maker guide focuses on decisions you can verify while you work, so the final chart is not only attractive on screen but practical to make.
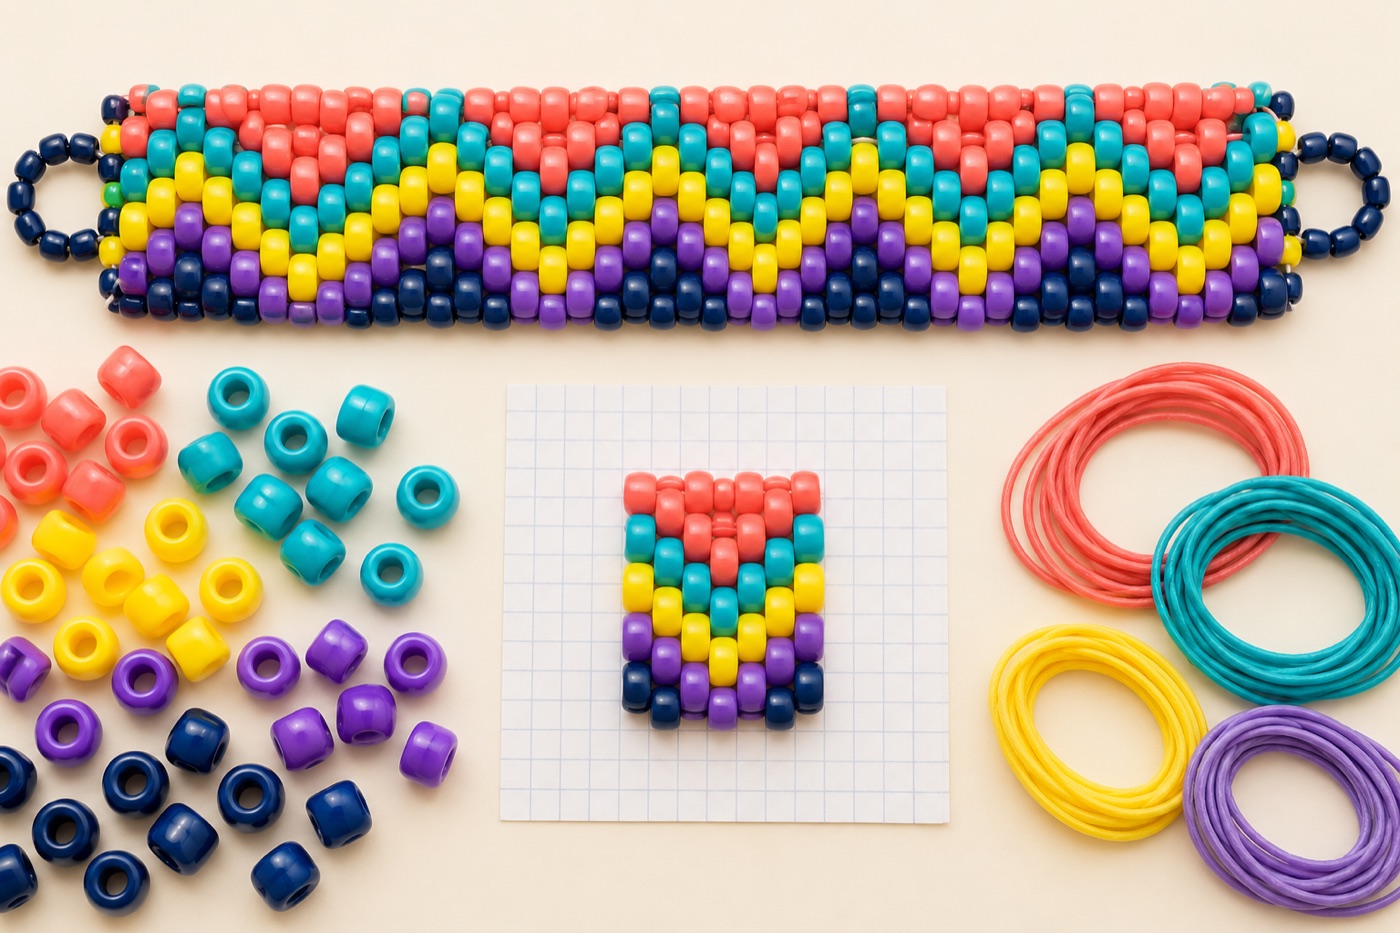
Find the seam before stringing
A repeat is only seamless if the right edge continues naturally into the left edge. Duplicate the proposed motif side by side in a preview and inspect the join at normal size. Check stripes, outlines and diagonal trails, not just the background color. If a star is cut in half at the edge, shift the crop or move the star inward. For a cuff, also consider how the pattern aligns vertically when the first and last rows are tied together; draw the proposed seam on paper before buying beads.
Measure a wearable sample
String a plain sample with the bead type and elastic cord you will use, then measure it around the intended wrist. Beads of different shapes and the tension of the cord change the circumference. Instead of choosing the number of columns from a generic chart, count how many beads your sample needs for a comfortable fit. Add whole repeat units until the circumference works. If the exact fit falls between repeats, adjust the motif spacing rather than squeezing or stretching the finished cuff.
Map colors across the join
Lay out a small section with the full proposed sequence and place its last bead against its first. If the edge colors clash, try changing the border or using a short transition column. Write out the sequence for one full repeat, then multiply the counts by the number of repeats that fit. This keeps the shopping list honest. When two similar colors are hard to distinguish in a dim room, separate them by position in labeled cups and use a chart with symbols as well as color.
Protect the readable part of the motif
A rounded cuff surface hides some columns when viewed from the front. Put faces, letters and other identifying details in the central front area, away from the seam or the most curved sides. If the pattern uses diagonal bands, view the cuff as a cylinder in your mind: the eye should follow a band through the join without a sudden step. A smaller repeat with clean edges often looks better when worn than a large image cropped around the wrist.
Finish with a repeat test
Assemble enough rows to wrap the wrist once, but leave the join temporary so you can inspect the pattern in place. Check fit with normal movement and make sure the elastic is not strained. Photograph the seam from the side. If a row is off by one bead, correct it before tying the final knot. Save the final circumference, repeat width and color sequence with the chart; those measurements make a second cuff much easier to reproduce.
Continue with BeadArtify
Open the free pattern maker to test your image, continue in the full pattern designer, or browse the original community gallery for color and scale ideas. Your source image is processed locally in the browser.