Bead Loom · 3 min read
Bead Loom Pattern Maker: Warp Count and Row Planning Made Clear
Calculate the setup, read alternating rows, and preserve even edges in a loom project. This bead loom pattern maker guide focuses on decisions you can verify while you work, so the final chart is not only attractive on screen but practical to make.
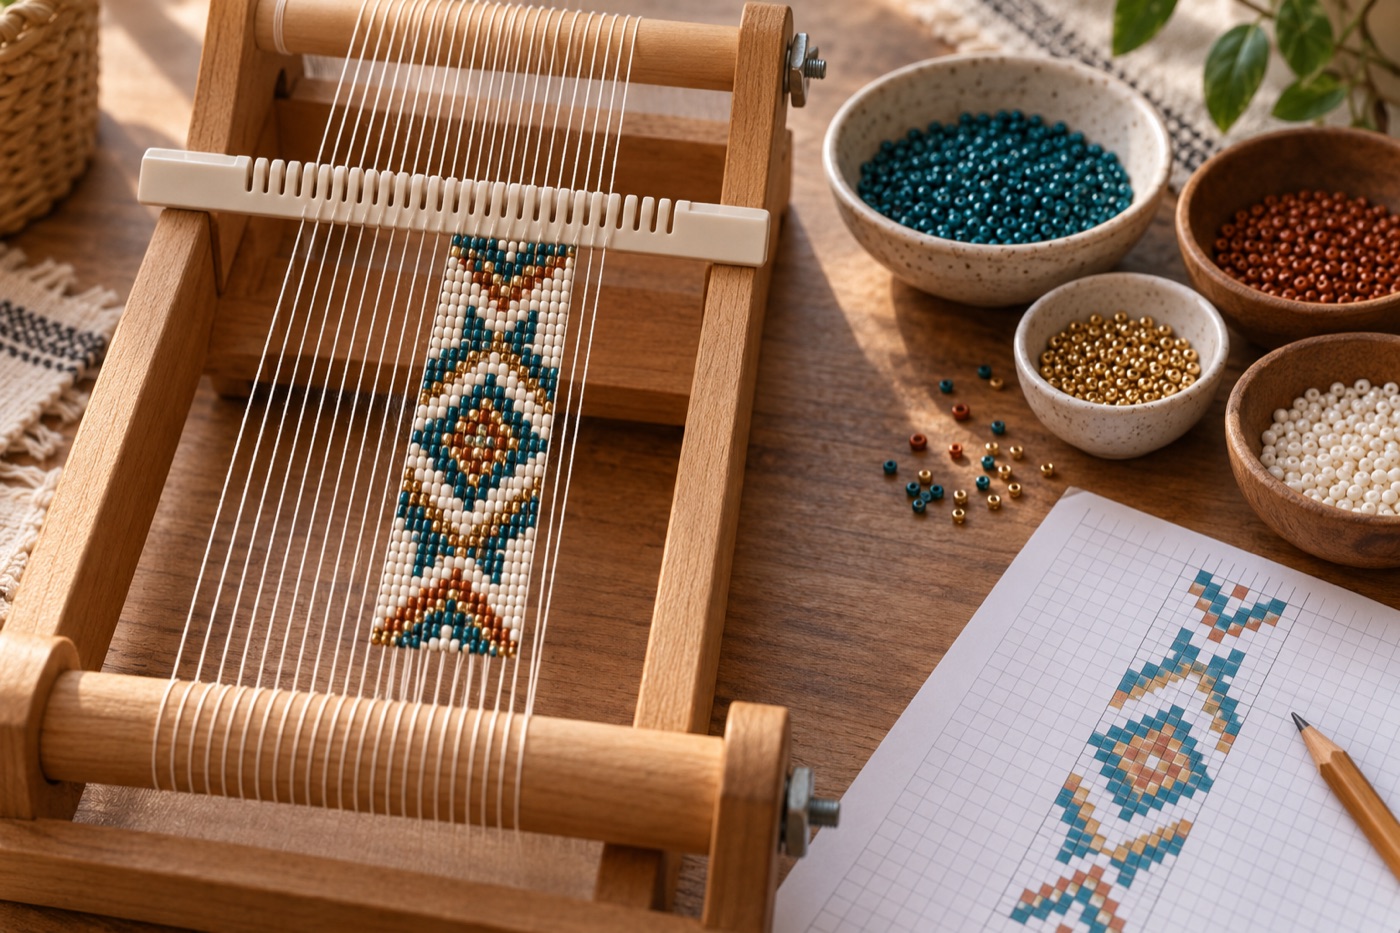
Translate columns into warp setup
On a straightforward flat loom, each bead column sits between adjacent warp threads. Plan one more warp thread than the number of beads across; a 12-bead-wide sample therefore needs 13 warp threads, including the outside edges. This relationship is described in Interweave's bead-loom instructions. Check your particular loom's setup before winding, because spacing and finishing methods vary. Keep the edge warps parallel so the first row does not bow outward.
Read the chart row by row
Print row numbers on both sides of the design. If the chart shows a letter or asymmetrical motif, mark the direction in which you will pick up beads for each pass, then lay the first two rows loosely before committing. Carry a highlighter down the chart as you work. A mistaken row is easier to spot when you compare the left and right edge colors against the plan. Do not rely on a zoomed image that may crop off the starting column.
Practice the over-under path
Bring the bead row under the warp threads and push one bead into each gap. Pass the needle back through the beads above the warps to lock that row in place. If a bead slips behind a warp, it can twist the edge and make later rows uneven. Try a plain two-color sample first, using the exact bead size, thread and loom you intend for the full project. Consistent tension matters more than pulling every row as tight as possible.
Plan the finished length
The beaded rectangle is only part of a bracelet or strap. Reserve room for the clasp, thread ends and any attachment method, and check that the motif remains centered in the wearable portion. Repeats are easier to adjust than a one-off image: add or remove whole repeat units rather than trimming half of a motif. Before making a long strip, weave a short sample and measure rows per centimeter using your own beads. Use that measured rate to estimate the final number of rows.
Finish the threads deliberately
Decide how the warps will be secured before cutting them from the loom. Different techniques call for weaving in, tying, or attaching hardware, and they leave different amounts of visible fringe. Keep spare thread length for the chosen finish. Photograph both ends of your test strip so you can repeat the method later. A well-counted digital chart cannot compensate for weak edge finishing, so include that step in the project plan and material estimate.
Continue with BeadArtify
Open the free pattern maker to test your image, continue in the full pattern designer, or browse the original community gallery for color and scale ideas. Your source image is processed locally in the browser.