Beadwork · 3 min read
Peyote Stitch Pattern Maker: Reading Offset Rows With Confidence
See how staggered bead geometry changes image conversion, row starts, and word charts. This peyote stitch pattern maker guide focuses on decisions you can verify while you work, so the final chart is not only attractive on screen but practical to make.
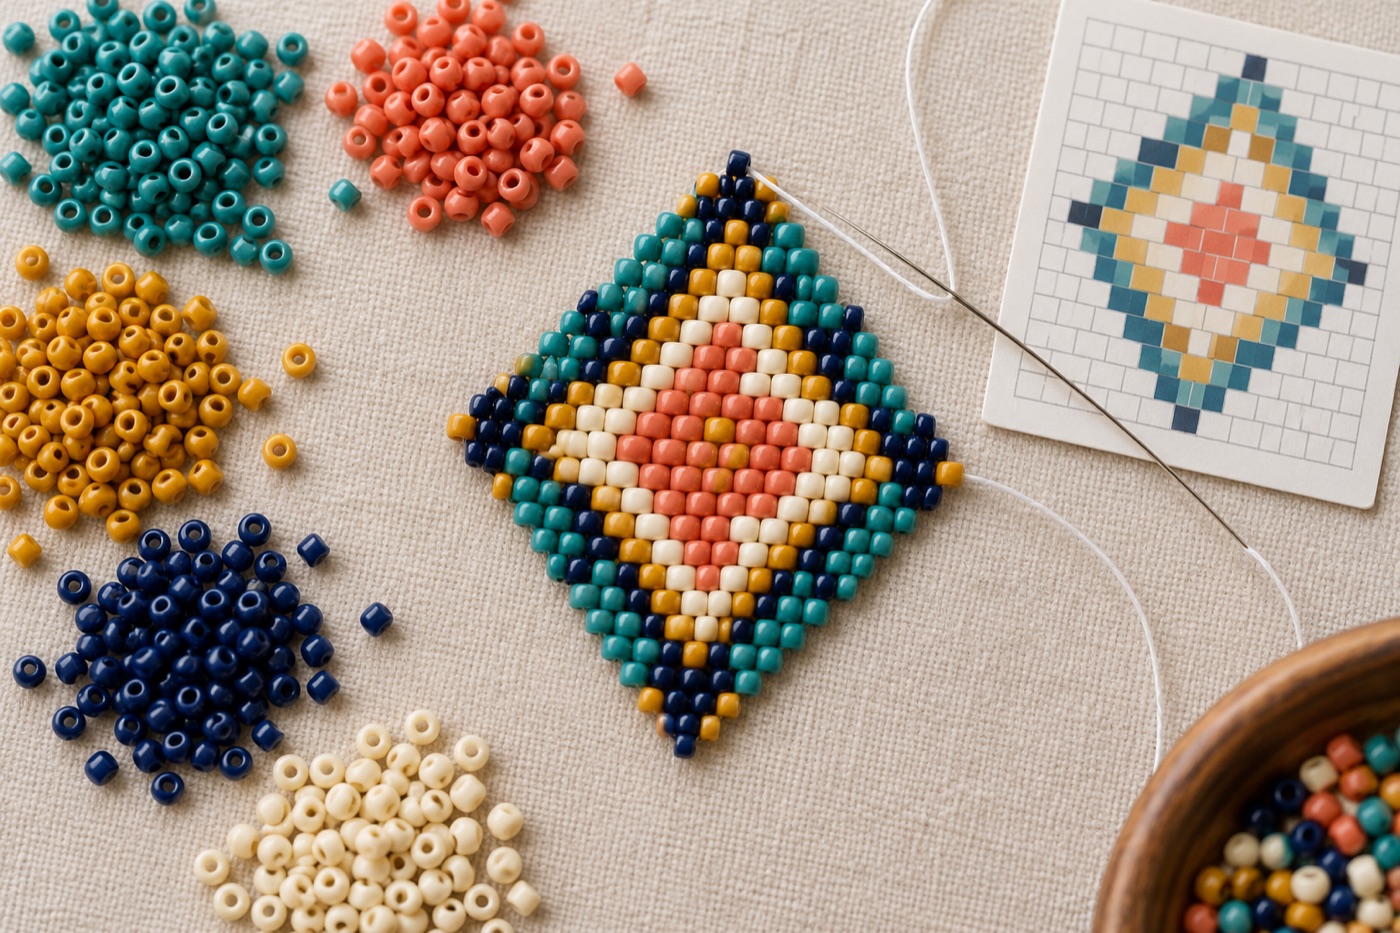
Choose the peyote structure first
Even-count flat peyote, odd-count flat peyote and tubular peyote do not share an identical starting edge or turn. Choose the structure your finished piece needs before generating a chart. For a first flat sample, even-count is easier to follow because each edge can be worked without the special turn required in odd-count. Interweave's flat peyote guide shows why the beads from the initial string form the first two staggered rows rather than one complete visual row.
Read staggered geometry
A square pixel chart puts every row directly above the last. Peyote shifts neighboring beads by half a bead, so a diagonal and a letter can look different after stitching. View the design in a staggered-bead preview before committing. Check thin lines, eyes and small gaps in particular. If a one-bead detail appears to drift, redraw it to work with the offset instead of treating the preview as a printing error. Number the columns across the full width; counting only visible beads in one horizontal pass understates the width.
Make a small sample of the first rows
String the foundation for the chosen stitch and work several rows with a high-contrast two-color motif. Follow the chart in the actual direction of stitching, marking each completed pass. The first strung bead may not be the leftmost bead of the first visible row, so use the technique diagram that matches your stitch. Lay the sample flat and compare the motif against the staggered preview. Correct the chart now if the border or diagonal lands differently than expected.
Design the edge and closure
If the project is a bracelet, check how many bead columns fit around the wrist once a clasp or closure is included. For tubular work, inspect the join where the repeat wraps around; opposite edges should meet without an abrupt color jump. For flat work, avoid ending a long pattern with a single delicate bead if the edge will take tension. Make a note of where new thread can be added discreetly, and keep the tail lengths required by your finishing method.
Keep a useful word chart
A good word chart should tell you which bead to add next, not merely list colors in image order. Mark start and turning points and use consistent row labels. If you reverse the direction of a pass, confirm whether its colors must be read right to left. Save both the editable staggered chart and a simple color count. When comparing brands, substitute by the real beads you own; a digital color or palette index alone does not confirm a manufacturer's code.
Continue with BeadArtify
Open the free pattern maker to test your image, continue in the full pattern designer, or browse the original community gallery for color and scale ideas. Your source image is processed locally in the browser.