Beadwork · 3 min read
Brick Stitch Pattern Maker: Shape, Ladder Base, and Row Changes
Design clean increases and decreases instead of treating brick stitch like a square grid. This brick stitch pattern maker guide focuses on decisions you can verify while you work, so the final chart is not only attractive on screen but practical to make.
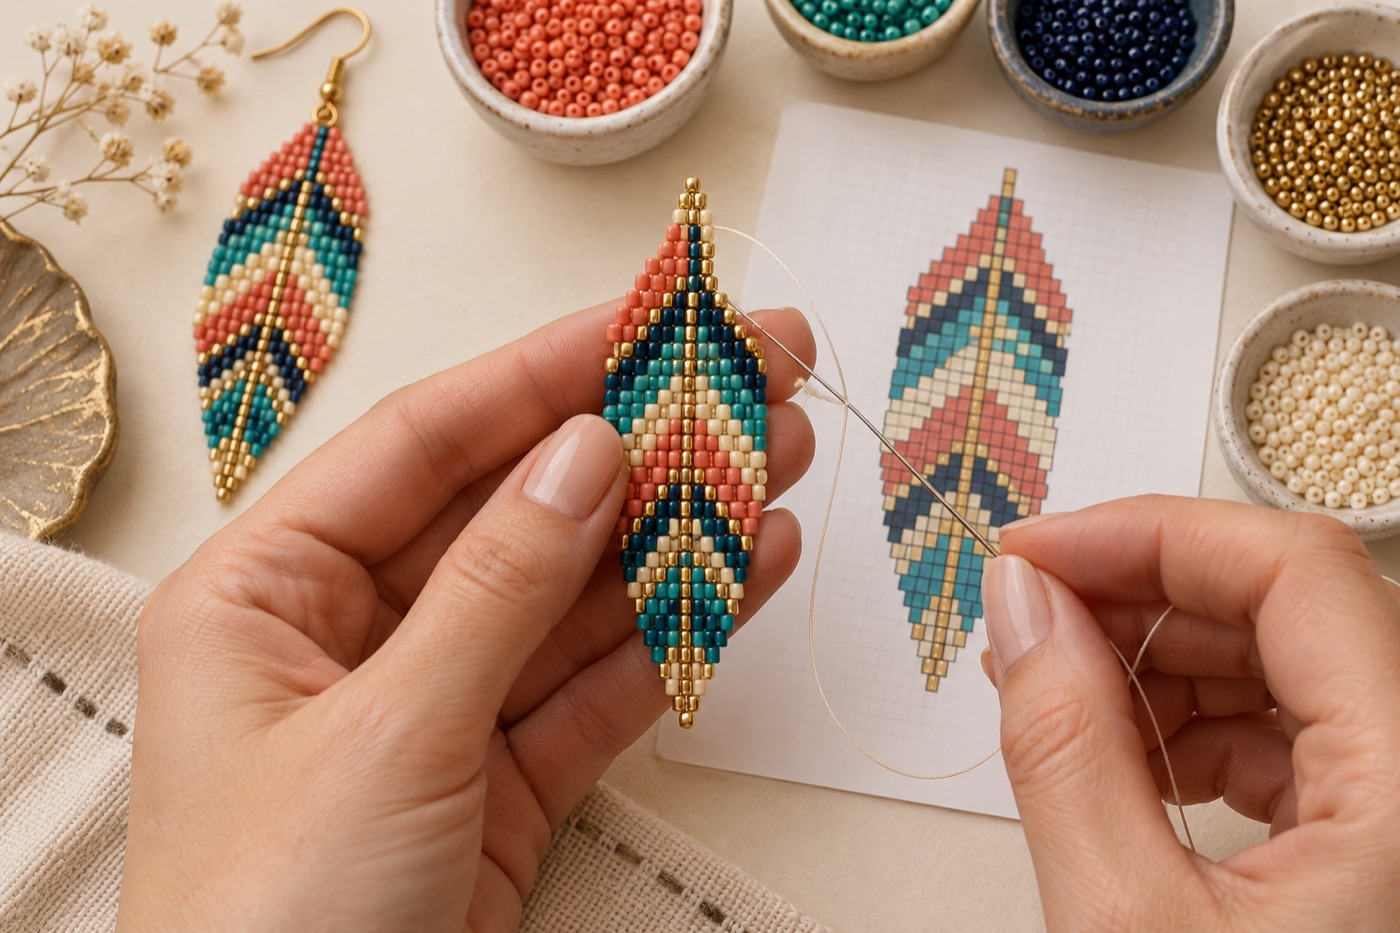
Build the ladder foundation
Brick stitch commonly begins from a ladder-stitched base; the later beads attach around thread bridges from the preceding row. Decide the base width before drawing tapered sides. Make a short practice ladder using the same beads and thread, and check that it lies straight without extreme tension. If you start with a square grid image, convert the drawing into staggered rows and inspect the new edges. A square cell count is a starting estimate, not a literal stitch-by-stitch route.
Draw increases and decreases intentionally
An earring that tapers should reduce in a planned sequence instead of losing beads at random wherever the source image is light. Outline the desired silhouette first, then count the beads in each row and compare it with the rows above and below. Sharp one-row width changes can make an edge awkward to stitch or weak when worn. Smooth the transition over more rows and preview both sides together. If the motif must be symmetric, count from a centerline rather than guessing by eye.
Inspect the thread path at each edge
An increase, a decrease and an ordinary row turn do not follow the same path. Before stitching a complex shape, mark every row where the bead count changes and consult the instructions for the chosen technique. Make a scrap sample of one increase and one decrease; confirm that the edge beads sit securely and the thread does not show more than intended. A design can look perfect in a pixel preview yet fail as beadwork if its thread path is not considered.
Color a motif for the stagger
Adjacent brick-stitch beads offset like bricks in a wall. A one-bead diagonal will therefore look different from a diagonal on a square pixel grid. Draw important eyes, letters and narrow stripes on the staggered preview and check the resulting shape at normal size. Leave a clear border around a central motif if the edge beads will be used for hanging or attaching hardware. Keep high-contrast colors near the intended focal point; tiny shades disappear quickly in a small earring.
Test, wear and revise
Stitch a short sample through the widest and narrowest parts of the chart. Hold it upright, since earrings hang vertically and the weight of beads can change how a loose sample looks on a table. Check that the attachment point sits over a stable area. Revise the digital row counts where the sample bulges or pinches, then save the tested version rather than the first attractive preview. Record the bead type and thread used so a later copy behaves similarly.
Continue with BeadArtify
Open the free pattern maker to test your image, continue in the full pattern designer, or browse the original community gallery for color and scale ideas. Your source image is processed locally in the browser.