Crochet · 3 min read
Crochet Pattern Maker Basics for a Clean Graphgan
Plan gauge, stitch proportions, direction, and color changes before picking up your hook. This crochet pattern maker guide focuses on decisions you can verify while you work, so the final chart is not only attractive on screen but practical to make.
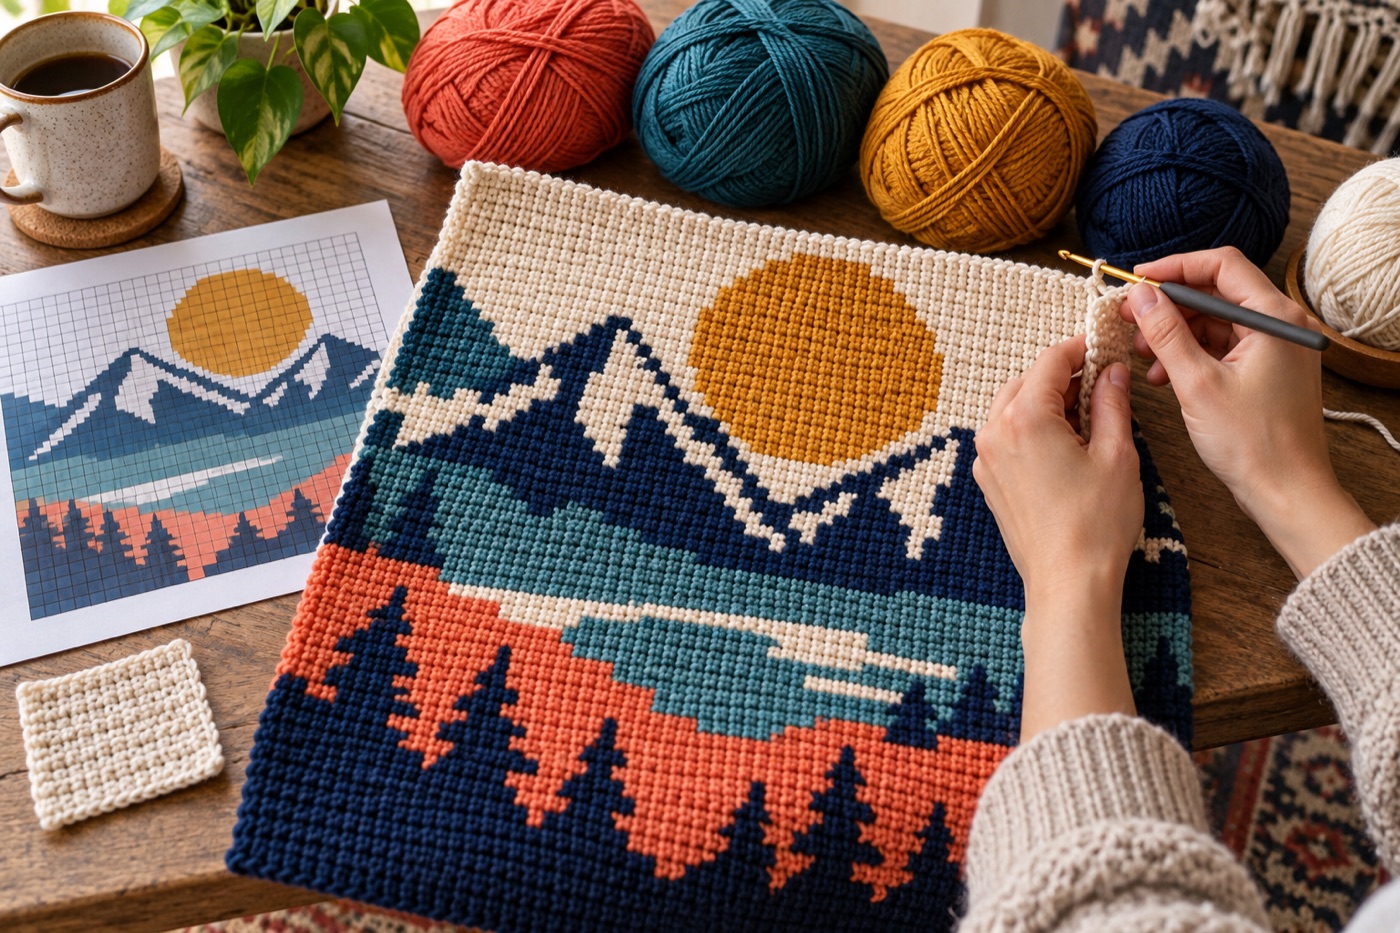
Turn a square grid into measured fabric
A chart square can represent one stitch, but a crochet stitch is not necessarily as wide as one row is tall. Make a swatch using the yarn, hook, and stitch you intend to use, then measure stitches and rows over the same distance. A forty-column, forty-row square chart may become a rectangular piece if the two gauges differ. Scale the source image or change the chart dimensions to fit the measured ratio before doing detailed color cleanup. The Craft Yarn Council recommends checking both stitch and row gauge for size-sensitive work.
Choose a clear reading direction
Decide whether you will work flat, turning after each row, or use another construction method. Number the rows from the starting edge and mark the direction of each pass. An asymmetrical letter or face can be mirrored if the chart is always read left to right while the work is turned. Put a simple arrow on a printed chart or use row markers as you progress. Test the first few rows with a small motif so you can confirm the right side of the fabric displays the design as intended.
Simplify for actual yarn changes
A photographic gradient that needs a new shade every stitch creates a large number of carried strands or yarn ends. Prioritize bold shapes, broad blocks, and a limited palette. Mark long runs of one color and note where a second color begins; look for isolated one-stitch flecks that can be removed without changing the subject. If the design uses multiple yarns, crochet a small swatch with the same color-change method. It reveals whether carried strands show through and whether frequent transitions distort the stitch size.
Keep construction notes with the chart
Record yarn weight, hook size, stitch type, the number of stitches and rows in the measured swatch, and the resulting width and height estimate. Mark any border or turning stitches that are outside the image grid so they are not mistaken for picture pixels. If your finished swatch changes gauge after washing or blocking, revise the projected size before committing to a full blanket. Save an editable chart and a working copy annotated with row direction and color changes; each serves a different purpose.
A size estimate with honest limits
Divide chart columns by measured stitches per unit of length for width, and chart rows by measured rows per unit for height. This yields an estimate, not a promise: yarn, tension, borders, and blocking can alter the result. Measure the center of a generously sized swatch rather than the curling edge. If you change hooks or stitches after charting, repeat the gauge check. Do not claim a finished blanket size from the image grid alone.
Continue with BeadArtify
Open the free pattern maker to test your image, continue in the full pattern designer, or browse the original community gallery for color and scale ideas. Your source image is processed locally in the browser.